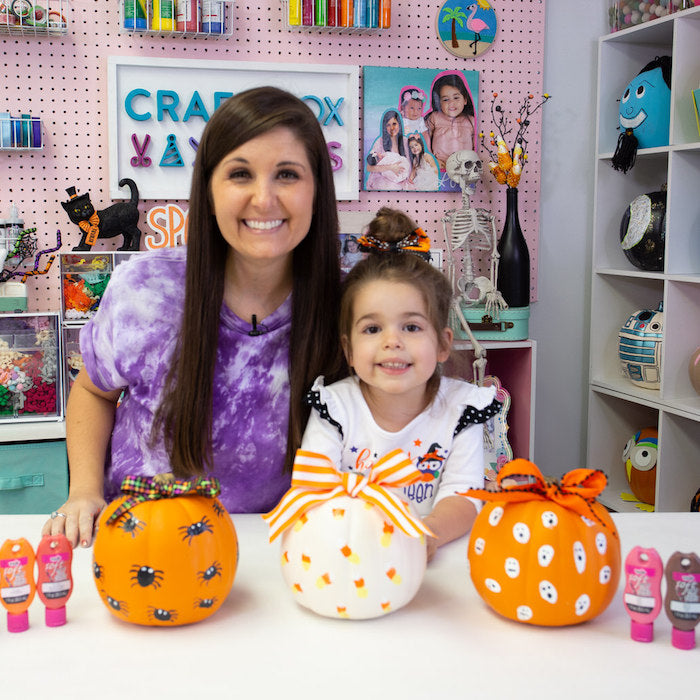
My daughter is a little too young to be carving pumpkins but she loves to decorate them. I teamed up with Tulip to make fingerprint pumpkin designs. Their paints are prefect for kid friendly projects. This was a great mommy and me project for Lily. She stamped her fingers and she also painted mine to stamp them and then I finished off each design with details and a bow!

- Tulip Soft Fabric Brush on Paint in Rainbow Pack
- 6" Craft Pumpkins
- Paint Brush
- Paper Plates (for paint)
- Ribbon

Directions for Candy Corn Fingerprint Pumpkin:
Use a paint brush to brush a line of of white, yellow and orange on your kiddos finger tips and stamp on the pumpkin. We alternated her fingers and mine!

Directions for Spider Fingerprint Pumpkin:
Dip fingertips in black paint and stamp on the pumpkin. Stamp sideways to get the shape for the spider body. Use a paint brush to pain legs on each fingerprint and eyes.


Directions for Ghost Fingerprint Pumpkin:
Dip fingertips in white paint and stamp on the pumpkin. Once try paint on the ghost eyes and mouth in black with a paint brush.


Finish off all the pumpkins with a bow!

This was such a fun craft to do with Lily! Shop all of Tulip's products on their website and get other fun ideas.

Check out a few of my other favorite projects for Halloween with Tulip: Halloween Face Masks, Halloween Hoop Decor, Family Hippie Halloween Costume.
Happy Halloween!
Lynn
This post is sponsored by Tulip but all thoughts and opinions are my own!


