
This post is sponsored by Brother Crafts but all opinions and thoughts are my own!
I have always loved a good apron. From the kitchen to the craft room a festive apron makes crafting and cooking just a little more fun! My new ScanNCut DX is the perfect tool to create a fun apron. Because I have a bunch of aprons for cooking, I thought it was time to have a festive crafting apron! The best part about this project is that it is "shear" fun and you can make in under 30 minutes!

For this project, you need a ScanNCut DX, a Standard or Low Tack Mat, HTV or Iron On Vinyl, Trim, Fabric Glue, Iron or Heat Press and a White Apron.
Directions:
- Open a new project in CanvasWorkspace.
- I created a design that says "I play with scissors for the shear fun of it" using the fonts available in CanvasWorkspace. I uploaded an SVG file of a pair of scissors and copied it a bunch of times to create the design.

- Once the design is complete download it to the ScanNCut DX. I love that this is a wireless function and such a seamless process to get your design ready to cut!

- Move over to the ScanNCut DX and retrieve data.
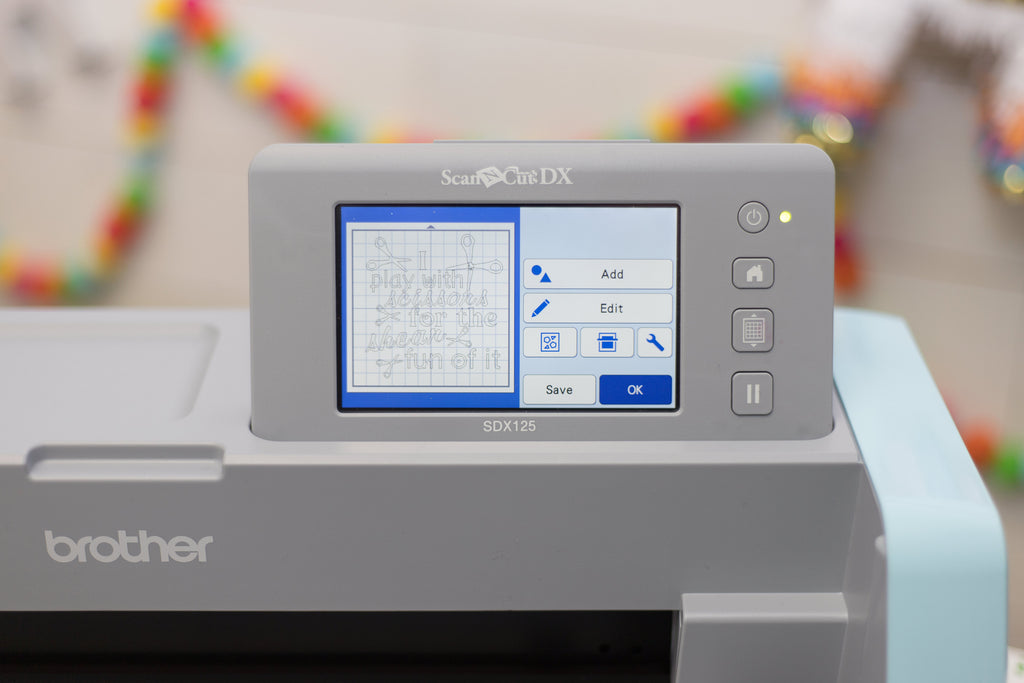
- Once the design is on the monitor make sure to mirror it. The design needs to be mirrored because you will be ironing the design on.

- I saved my design so I could split it into two cuts. Because the of the complexity of the designs it was easier to do the words in one cut and the scissors in a second cut because I wanted to do multiple colors.
- I cut the words on pink HTV vinyl and weeded away the excess vinyl.

- For the scissors cut I left them as is and loaded my mat with multiple sections of color iron-on glitter. I scanned the mat so the different colors would populate on the screen.
- Once the section of vinyl is on the screen I used the stylist to move the pairs of scissors to the section I wanted them.

- Once the scissors are cut, make sure to weed the excess vinyl around the design.

- Next, warm up the apron by running the iron over it for 5-10 seconds. Check the vinyl package for recommended heat settings based on the fabric you are ironing.
- Run the iron over the front and then flip the design and iron the back of the apron for 10-15 seconds.


- Slowly peel back the cover sheet to test and make sure the vinyl has adhered to the apron.

- Jazz up the design by adding trim at the top and the bottom.


Crafting is going to be so much more fun with this apron!

Have you checked out my other craft projects using the ScanNCut DX? If not make sure to check out: Helicopter Dad T-shirt, Play Room Sign, Unicorn Card, DIY Farmhouse Home Sign, and Flock Star Flamingo T-shirt.
xoxo Lynn :)
Hi Sarah – I recommend Beacon Fabri-Tac for adding the embellishment! It holds up and washes really well!