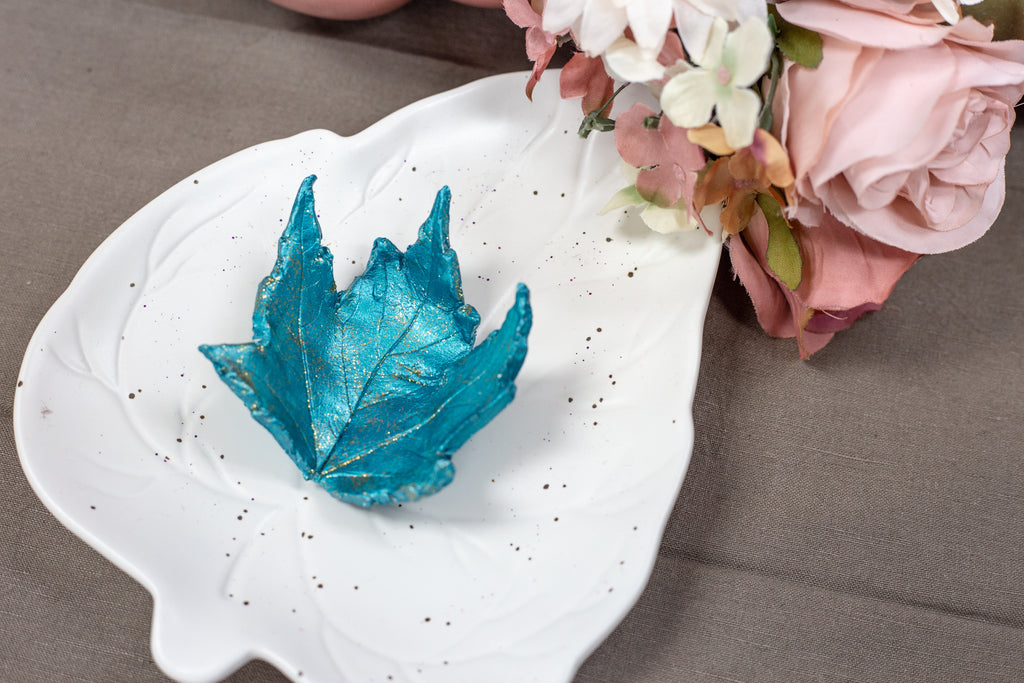
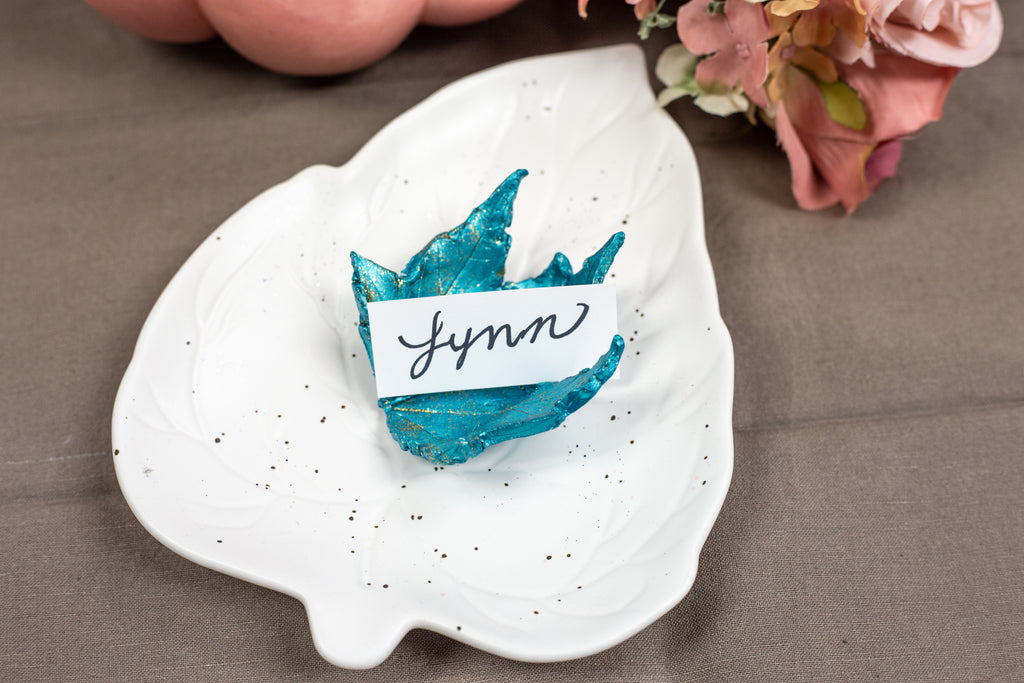
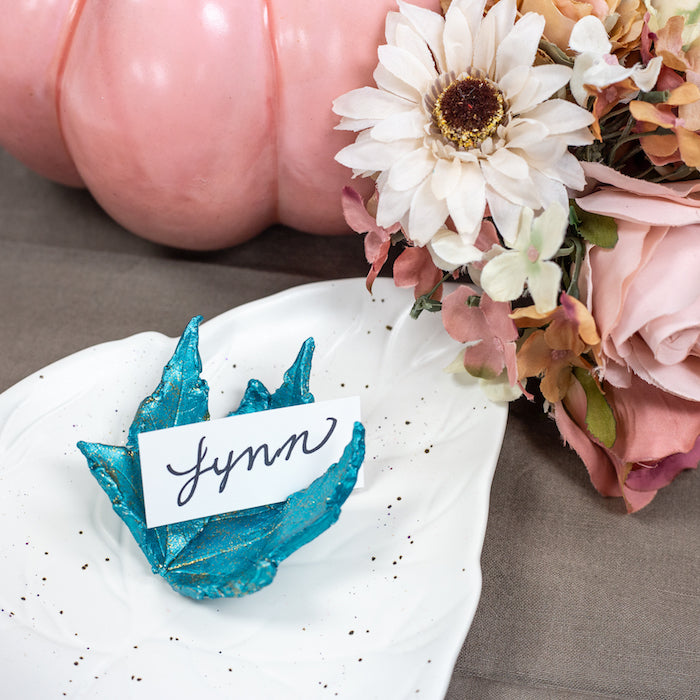
I am so excited to be hosting Testors Crafternoons for the next few weeks! Each week our team will be taking a break for an afternoon of crafting (Crafternoon) and you get to come along for the fun! We kicked off our first week by making DIY Marbled Chargers and last week we made a Modern Cornucopia. This week we are making clay leaf bowls! These bowls work perfectly for place cards for Thanksgiving or year-round as a ring bowl.


Materials:
- Assorted Testors Craft Acrylic Paint
- Airdry Clay
- Real Leaves
- Rolling Pin
- Craft Knife
- Paint Brush
- Tin Foil
Steps:
- Roll clay out to about 1/4 inch thick on a non-stick surface.

- If the leaf has a stem, pinch off the end.
- Gently press the leaf into the clay to transfer the leaf veins into the clay.

- Use a craft knife to carefully trace the outline of the leaf in the clay.
- Pull away the excess clay.

- Next roll a piece of tinfoil and from a u shape or a ring.

- Gently pull the leaf from the non-stick surface.
- Place the leaf on the tinfoil ring and lightly press the center of the leaf downward to form a bowl shape. Carefully curl the leaf inward.

- Let the clay air dry for up to 24 hours.
- Once the clay is dry, use your favorite Testors Craft Acrylic Paint color to paint the front and back of the leaf!


Once the leaf is dry, display at your Thanksgiving table or on your sink to hold your rings!

I hope you enjoyed our third episode of Testors Crafternoons! Stay tuned for next weeks show! We are making a wreath!
xoxo- Lynn
Connect with Testors Craft: Website | Facebook | Instagram | Twitter | Pinterest | Youtube
This post was sponsored by Testors Craft but all opinions and ideas are my own.


